Did you know you can design your own brads to coordinate with your cards, scrapbooking and off-the-page work? It's as easy as 1-2-3 with Build-a-Brads by Stampin' Up!
Step 1.Punch out an image using a 1/2" circle punch.
Instead of patterned paper as I've used,
you may wish to stamp an image or use a rub-on.

Step 2.Using your adhesive of choice,
adhere your punched out image to the top of the brad
from your Build-a-Brad kit.

Step 3.Peel off the self-adhesive bubble from your Build-a-Brad pack
and place it over your image on the brad.

Looks like fun? It is!
Email me now to purchase a Build-a-Brad Kit
and you too can start creating your own coordinated cards, scrapbooking and more.
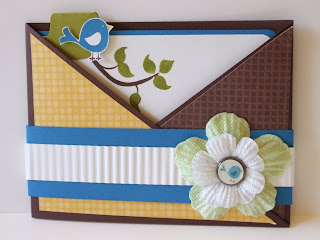
Here's a card I made recently using the Build-a-Brad kit
to make my own coordinated embellishment.
Getting ready for my sister's military style wedding... we have added a Build-a-Brad on her invitations to co-ordinate with the badge from her 'soon to be hubby's' suit.

Are we clever or what????
Build-a-Brads can be found on page 149.
They come in the choice of Antique Brass or Pewter.
Each pack contains 24 RRP $18.95
No comments:
Post a Comment